

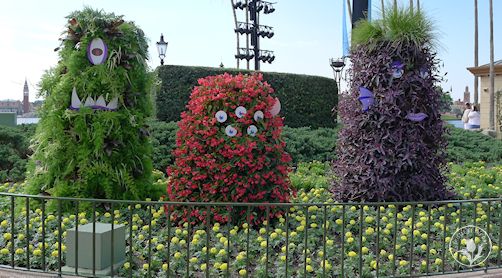
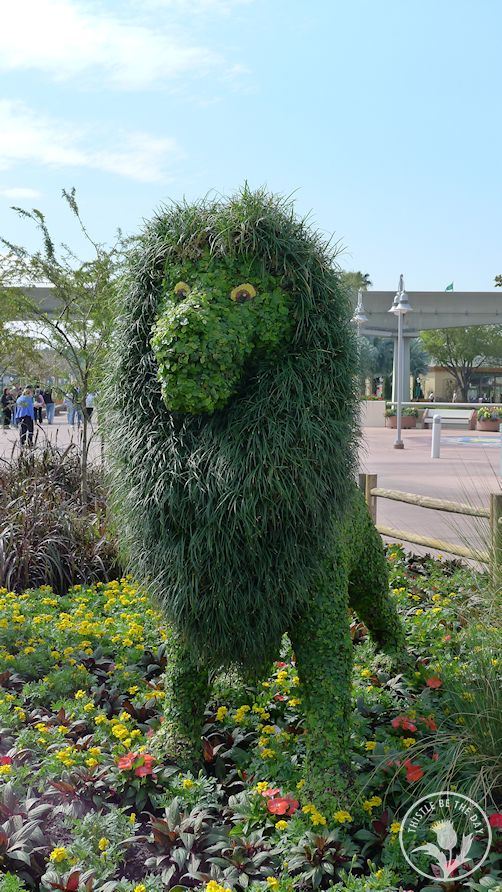
I was first introduced to topiary years ago during a vacation to Walt Disney World when, much to my delight, our visit happened to coincide with the Epcot International Flower and Garden Festival. I remember being in awe as I walked around the park seeing all of the familiar Disney characters made out of plants. The creativity and skill that the topiary artists used to depict the characters were both stunning and inspiring. As an artist myself, I was fascinated by using different plant species to represent various textures and colors. I had never considered plants as an artistic medium. I came away from that experience exhilarated and with a deep respect for the topiary artists and their incredible creations.


It’s been many years since we’ve taken a trip to the Epcot International Flower and Garden Festival, and, to be honest, I hadn’t given topiary much thought until recently. Since the coronavirus pandemic, there have been many opportunities to take free webinar classes and watch instructional videos. I have taken full advantage of those opportunities and have been brushing up on garden tutorials. One of the webinar classes I took was on topiary and how to create pieces for your garden. It sounded like so much fun; I decided to give it a try!
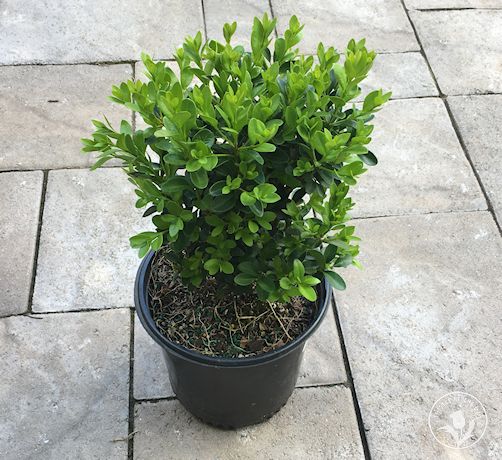
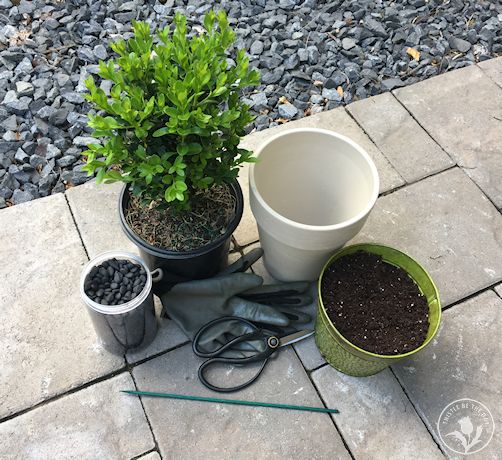
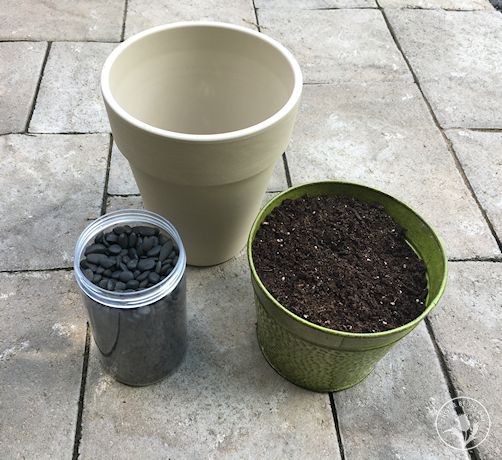
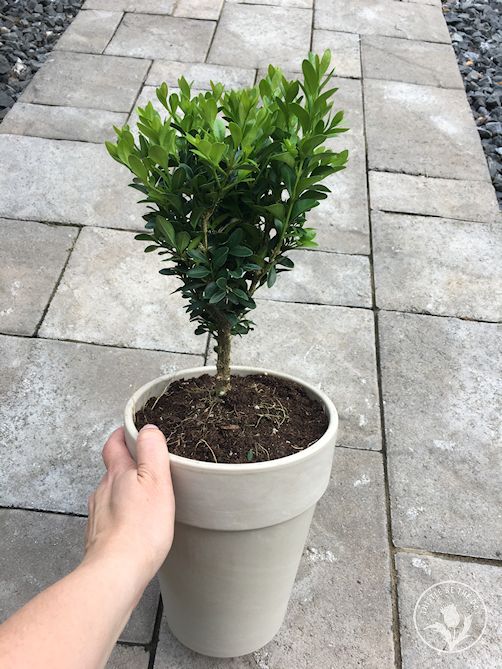
Firstly, I had to acquire all of the supplies I would need. The list included: snips or pruners, string or raffia, bamboo stakes or supports, a planting container, potting mix, mulch or top dress, and plants. Plants recommended as good topiary candidates included: boxwood, privet, euonymous, lemon cypress, germander, myrtle, santolina, holly, juniper, rosemary, lavender, olive trees, and silverado sage. A local nursery trip yielded a small boxwood plant for my topiary experiment.
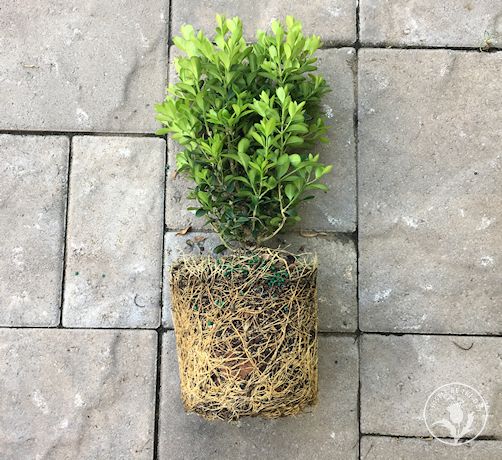
After assembling my supplies, the next step was to plant my boxwood in its new container. When I removed my plant from the nursery pot, I discovered that the plant had become completely rootbound, it’s roots taking up the entire space inside the pot. Before planting in the new container, I had to tease out the roots and do some trimming for the boxwood’s health.
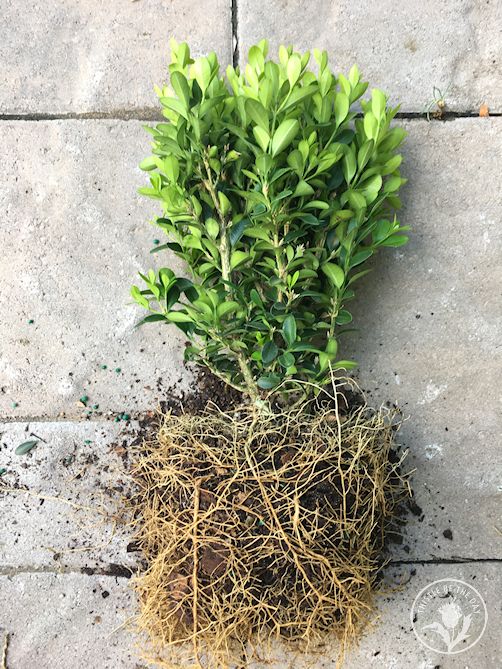
When the roots had been taken care of, I planted the boxwood in the new container. I had chosen a tall, earth-toned, terra cotta pot for my topiary. I liked the pot’s height and size in relation to my boxwood, and I was drawn to the earth-toned color because it reminded me of stone. I used a high-quality potting mix and tucked my boxwood into its new home.
After my plant was nicely potted, it was time for the pruning. Trimming the boxwood was the part that I was dreading. Up to this point, the steps had been familiar and relatively comfortable, but pruning has never come easy to me. I often cringe during the act of “thinning” seedlings or pruning shrubs. I have enough trouble getting plants to grow in the first place, yet the seed packet instructions tell me to kill seedlings voluntarily! But, I persevere because it’s for the better of the crop. This scenario shouldn’t be much different. “I can do this!” I told myself, as I found the central stem of the boxwood.
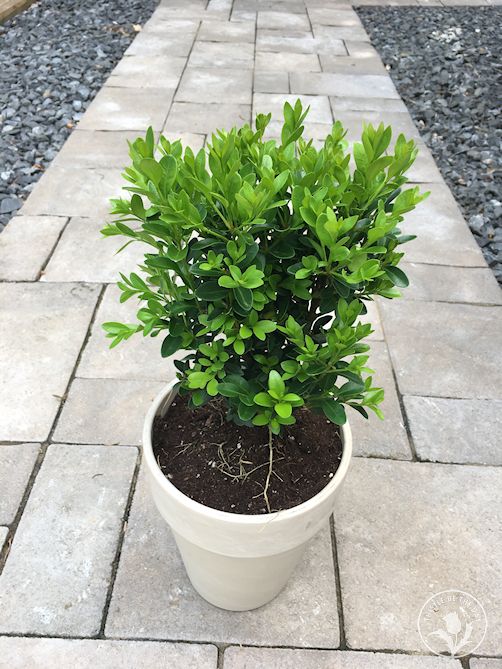
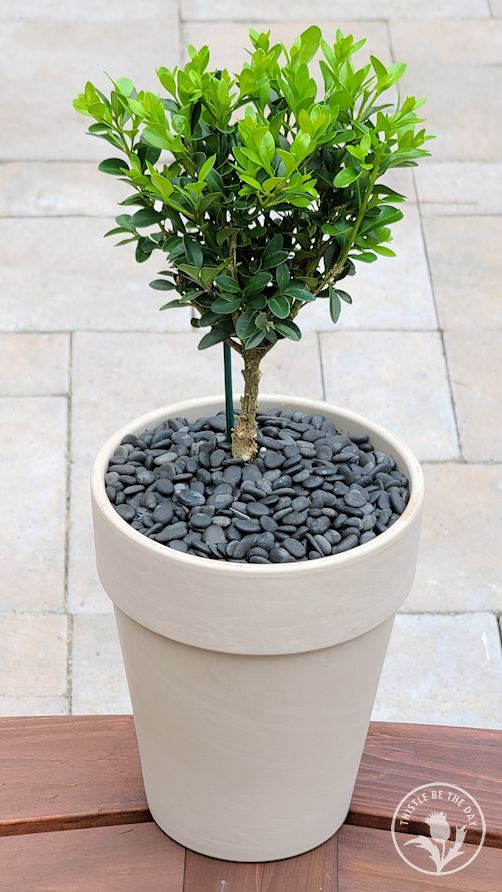
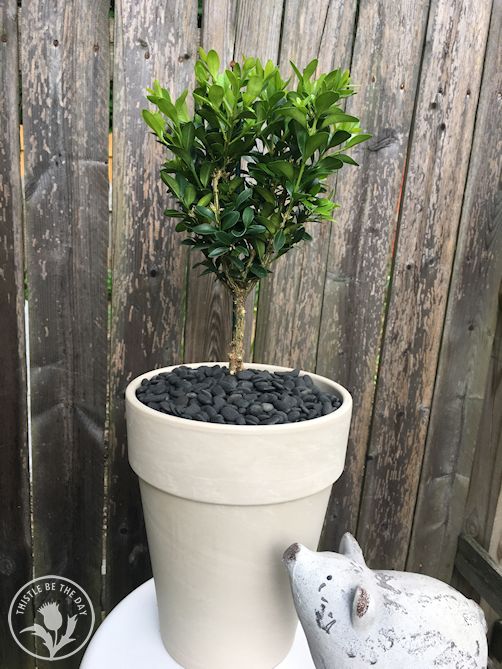
I decided to start simple since it was my first topiary experience, no balls, pyramids, cones, spirals, or Disney characters. The intricate shapes would have to wait for another day. I opted instead to try my hand at a lollipop shape for my first attempt. I found the central stem that I would be keeping, braced myself, and started trimming any branches on the bottom portion of that central stem. I was surprised to find that it wasn’t as painful as I had expected. It was quite soothing and relaxing. Once my lollipop “stick” was to my satisfaction, I started to prune the remaining branches on top. I never achieved an actual globe-like shape, but I liked the final result.
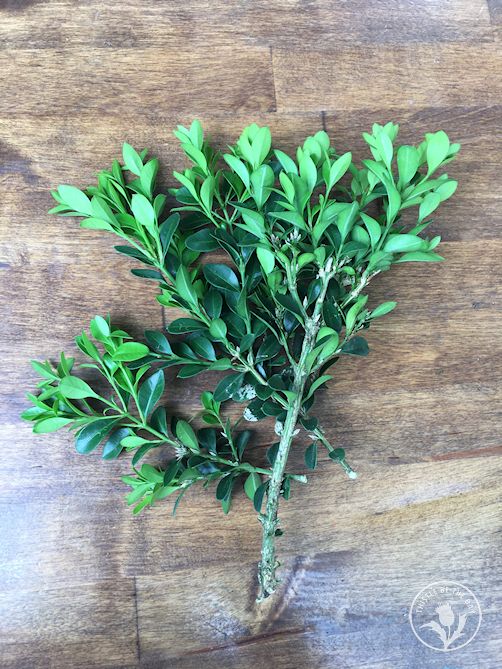
Sufficiently contented with my creation, I got to work on the finishing touches. I added a stake for support and some smooth, black stones for mulch. I also learned not to throw away the trimmed branches of your project. They can either be rooted to create more plants for future topiary sculptures or used as filler in bouquets and arrangements.
“Voilà!” my first topiary creation was complete!
In the end, I was happy with my first attempt. It certainly isn’t anything spectacular, nothing like the topiary characters I saw on our vacation, but hey, you have to start somewhere. Perhaps I will try something a little more complicated for my next topiary and see how it goes. But, in the meantime, I will enjoy my not-quite-lollipop-esque boxwood.

You are always up for a new challenge. I have wanted to try a pear espalier
LikeLiked by 1 person
Oh, I would love to try espalier fruit trees!
LikeLike