

The weather is getting cooler here in zone 5, and the leaves are starting to show signs of change. Like dazzling dancers dressed in red, orange, and yellow costumes, they prepare to put on their show. This will be their final act, a brilliant extravaganza of color before the curtain falls, and winter enters the stage. It is officially Fall, my favorite time of the year.
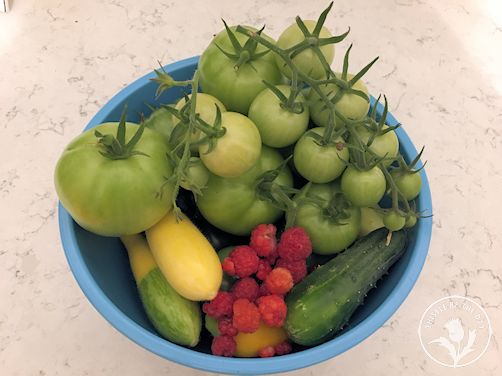
There is so much that I love about Fall, the taste of apple cider on a cool day, pumpkins adorning doorsteps, the crackle of fallen leaves under your feet, but I also look forward to the promise of time for rest and reflection in our gardens. As we start to harvest the last of our summer crops before frost settles in, we can pat ourselves on the back for a job well done. Looking at the culmination of all of our hard work in the garden throughout the summer, we may feel pride as we look at the mounds of squash, boxes of tomatoes, and bags of beans on the counter. Or, we may feel completely stressed out as we run around the kitchen, yelling, “What am I going to do with all of this!?” Regardless of how excess produce from the garden makes you feel, don’t fret; there are many methods for preserving these hard-won, home-grown delicacies. It is time to put up our harvest.
Even in ancient times, people were using a variety of methods to preserve their harvest. Food preservation probably dates back to the first time someone had leftovers. Methods such as freezing, pickling, drying, fermenting, canning, cold storage, smoking, and salting all evolved as ways of putting up the harvest to make it last. Many of these time-honored methods are still widely used today.
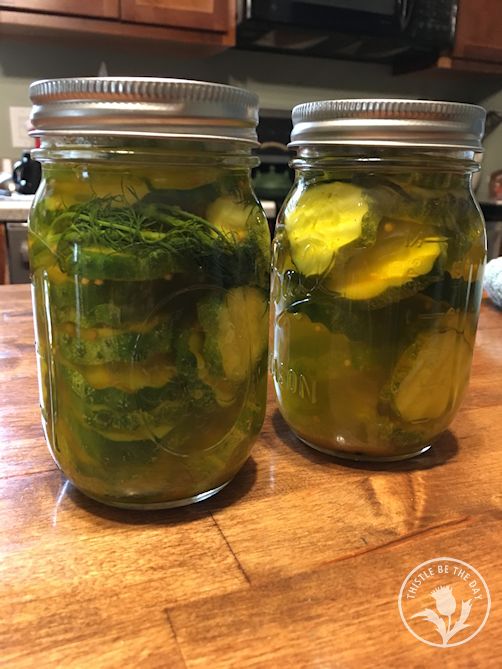
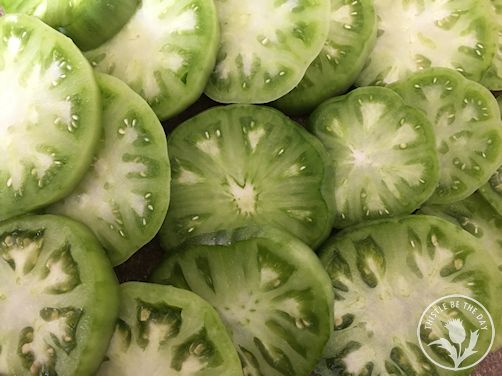
Thus far, I have the most experience with freezing, pickling, and canning my harvest, although I would love to expand my knowledge of other preservation methods. In the years since starting my vegetable garden in 2007, I have been lucky enough to put up jars of crushed tomatoes, homemade pizza and pasta sauce, jams, jellies, salsa, pesto, relishes, and pickles, as well as freezing many vegetables at their peak ripeness to be enjoyed at a later date.
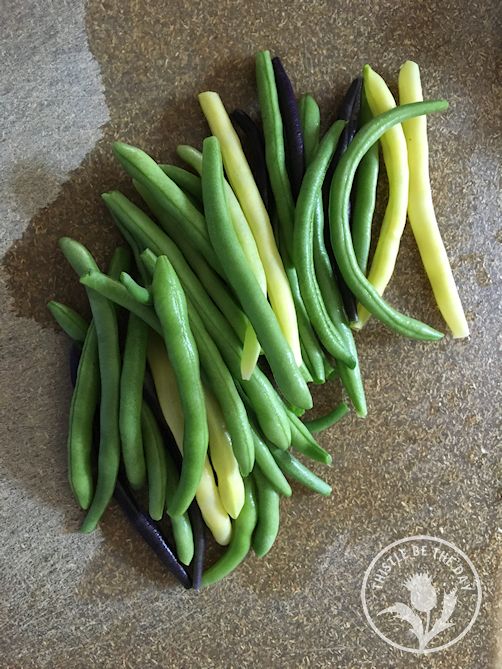
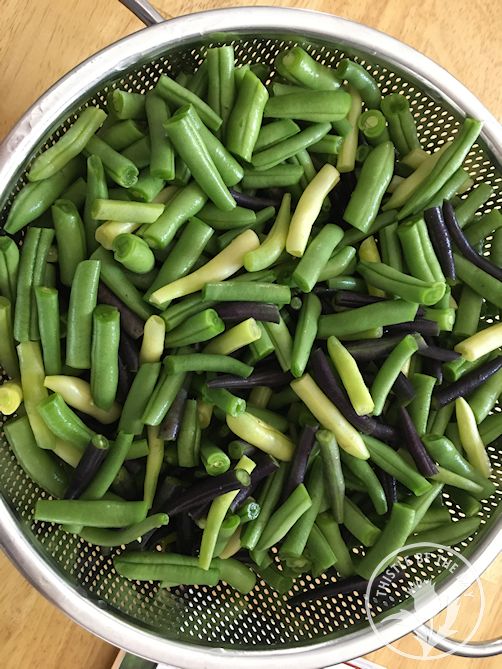
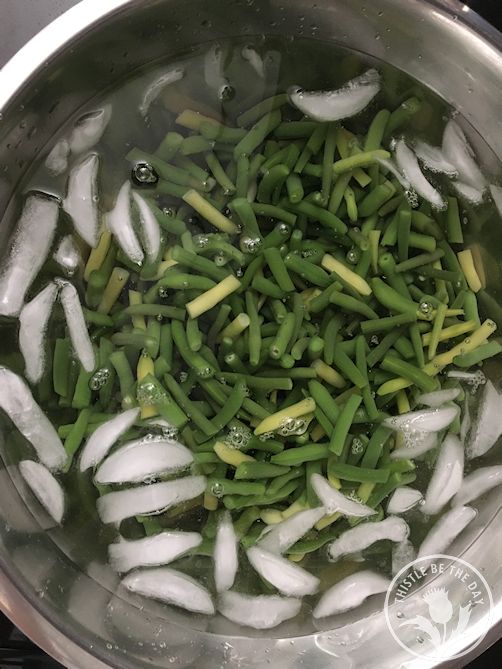
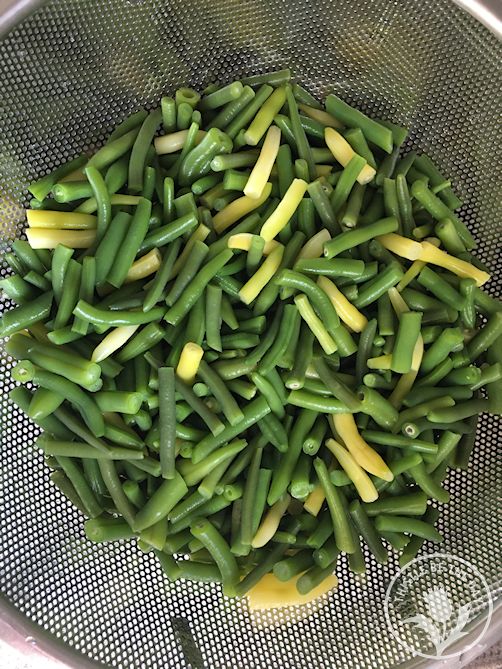
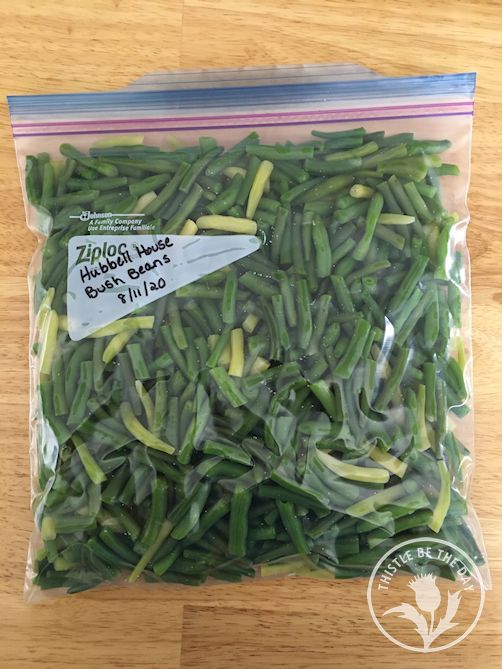
This year, I had a bumper crop of bush beans. We couldn’t eat them or give them away fast enough. So, I decided to freeze them to be used in soups and casseroles this winter. I found the process to be relatively easy and worth the effort. I can’t wait to taste them in all of our favorite recipes after the weather grows cold.

I also love making jams and jellies from the berries we grow in our garden. There is nothing quite like the delectable taste of homemade jam made from the fruit you grew yourself. Raspberry and blueberry top our list from our home garden, but I have also made many other flavors from fruit we have picked at our local orchards. My pantry often bulges with this sweet treat in flavors such as apple, pear, peach, blackberry, strawberry, and grape, to name a few.

Even if you don’t have a garden yourself, you can employ these preservation methods on the produce you’ve bought at the local farmer’s market or orchard. Is the sweet corn from your favorite local farm especially good this year? Why not buy a few extra ears to freeze for soups this winter. Did your friend drop off a bag of zucchini on your porch? Shred and freeze it for baking loaves of bread and cakes. Just make sure you use proper, reliable methods from sources you trust to ensure food safety, and watch those expiration dates. If I’m feeling particularly organized, I try to keep an inventory of all of my jars and frozen produce, listed with expiration dates so that I can see what needs to be used up when. However, I rarely run into any issues as these delicious goods don’t usually last long in my house. Bonus, they make great gifts!
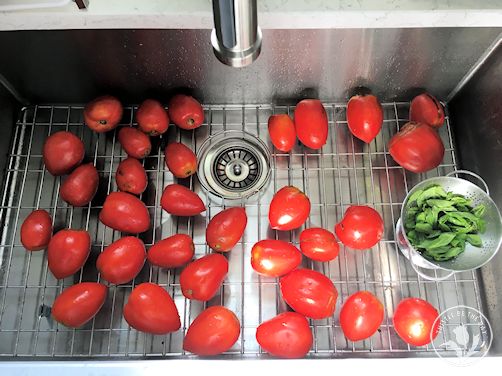
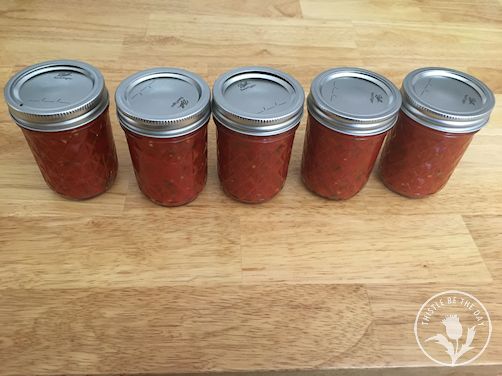
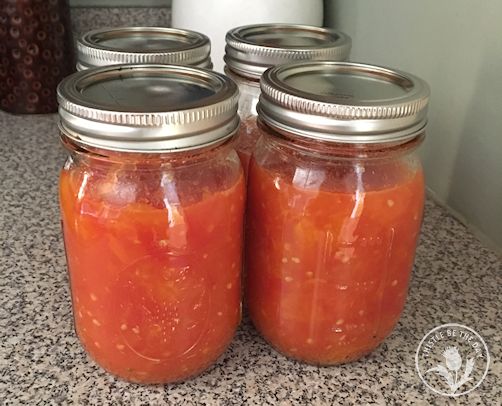
There is nothing like being able to dine on summer’s tastes when it is the middle of winter. Winds may be whipping outside my window as snow piles against the house, but inside, I am transported to the garden on a warm summer day as I sample the flavor of crushed tomatoes that I canned months prior. Oh, how lovely it is to taste the flavors of putting up the harvest. So, let’s get preserving because Thistle Be The Day!
Source:
*Directions for preparing and freezing the beans came from the Better Homes and Gardens book “You Can Can, A Guide to Canning, Preserving, and Pickling”

One Reply to “”